There’s nothing like a perfectly cooked steak. It seems like everywhere you look, you see a streak being cooked up on some advertisement or cooking channel. So you go out and buy a thick expensive steak, dreaming the whole ride home about how great it will be… Until you cook it, that is.
We’ve been there too, grilling steak isn’t as easy as it seems. It’s difficult to find the balance between a crispy crust and a juicy interior. Today, our grilling experts over at Synergy Outdoor Living are here to teach you everything you need to know to wow your guests with the perfect grilled steak!
Start With the Prep
When it comes to grilling, the most important step is proper preparation, ensuring that the process runs smoothly. Grilling is all about timing, so you want everything prepared ahead of time.
Season the Meat
For thicker steaks, you’ll want to season both sides with ½ teaspoon of kosher salt per pound of steak. If using table salt, use ¼ of a teaspoon.
Throw the salted steak into the fridge for 1-2 hours, allowing the salt to tenderize the meat. You can use spice rubs or seasoning mixes, but if you are using a thick high-quality cut, the steak should have enough flavor on its own to shine through.
For thinner steaks, use a marinade to tenderize and season your meat. When making a marinade, add a little sugar to the mix as it helps tenderize tougher cuts of meat.
Prep for the Grill
Take the steaks out around 30 minutes before grilling so they can warm up closer to room temperature. A cold steak will cook less evenly and will be harder to sear.
After 30 minutes, pat each steak dry, as extra moisture on the outside can reduce the crusting you are looking for. Season before cooking with a little more salt and fresh ground pepper.
You can use spice rubs if you want, but a high-quality steak that’s cooked right doesn’t need extra flavor!
Grilling Steaks at Home
When grilling on a gas grill, you can use two different methods, reverse searing and direct grilling. No matter what method you choose, start the process by creating a two-zone grill.
One side is intense, direct heat; this will be used to sear the steak and create a crust. The other side will be focused on cooking the center of the steak.
How to Reverse Sear
With one side of the grill on high, reduce the heat on the other side to create the two cooking zones (we aim to keep the indirect heat around 225 degrees). Place steaks on the indirect side and close the lid, and wait about 15 minutes to begin checking. Using a meat thermometer, you’ll want to stop cooking once the steak is around 110 degrees, leaving room for the sear.
Once the steaks are up to temperature, it’s time to crank up the heat and move the steak over to the direct zone. Sear on each side for 1-2 minutes each, or until your desired level of crust is acquired.
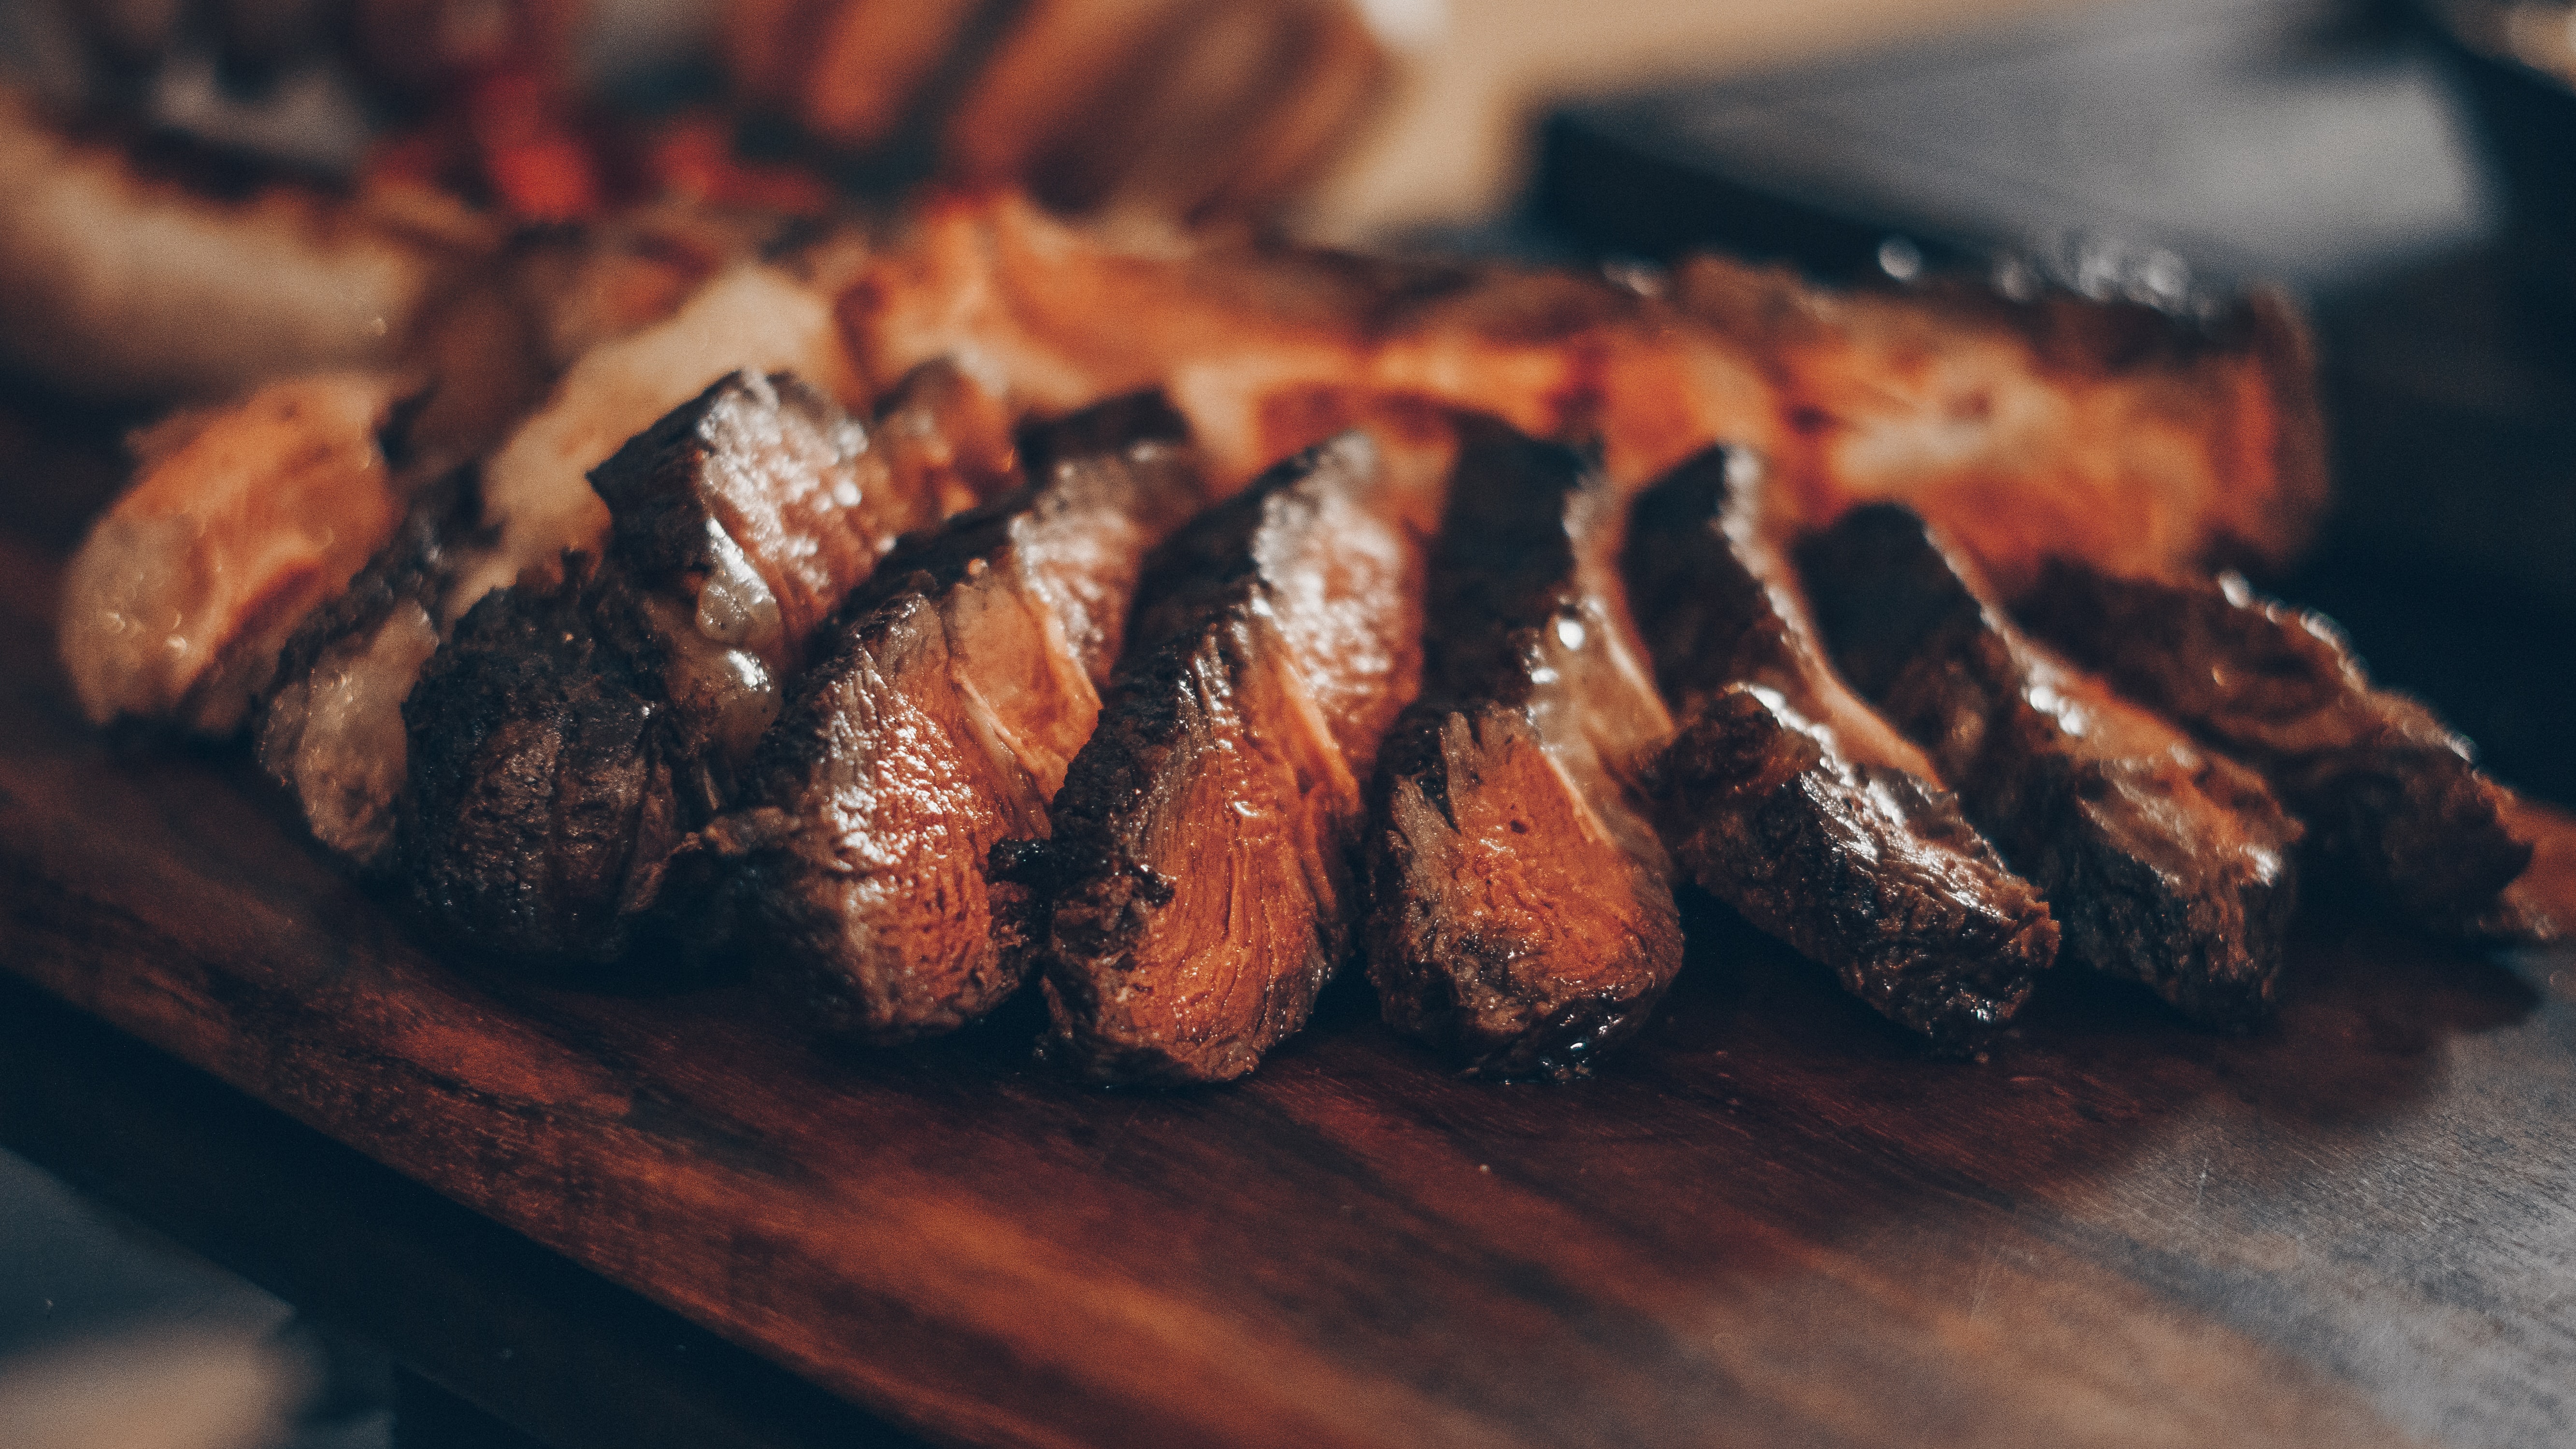
Rest the steaks off the grill for at least 5-10 minutes before slicing, cutting too early can drastically change the texture and juiciness of the steak.
Direct Grilling
Direct grilling is the most common way you’ll see a steak grilled. Heat your grill to high, and just like reverse searing, keep one side of the grill at a reduced heat. For thicker steaks, cook on direct heat to sear, about 3 minutes on each side. This method is the opposite of reverse searing as you are searing the steak before you cook it through.
Once the crust is right, slide the steaks to the indirect zone until they reach your level of doneness. As always, rest the steaks 5-10 minutes before eating.
Learn More > Direct vs. Indirect Grilling
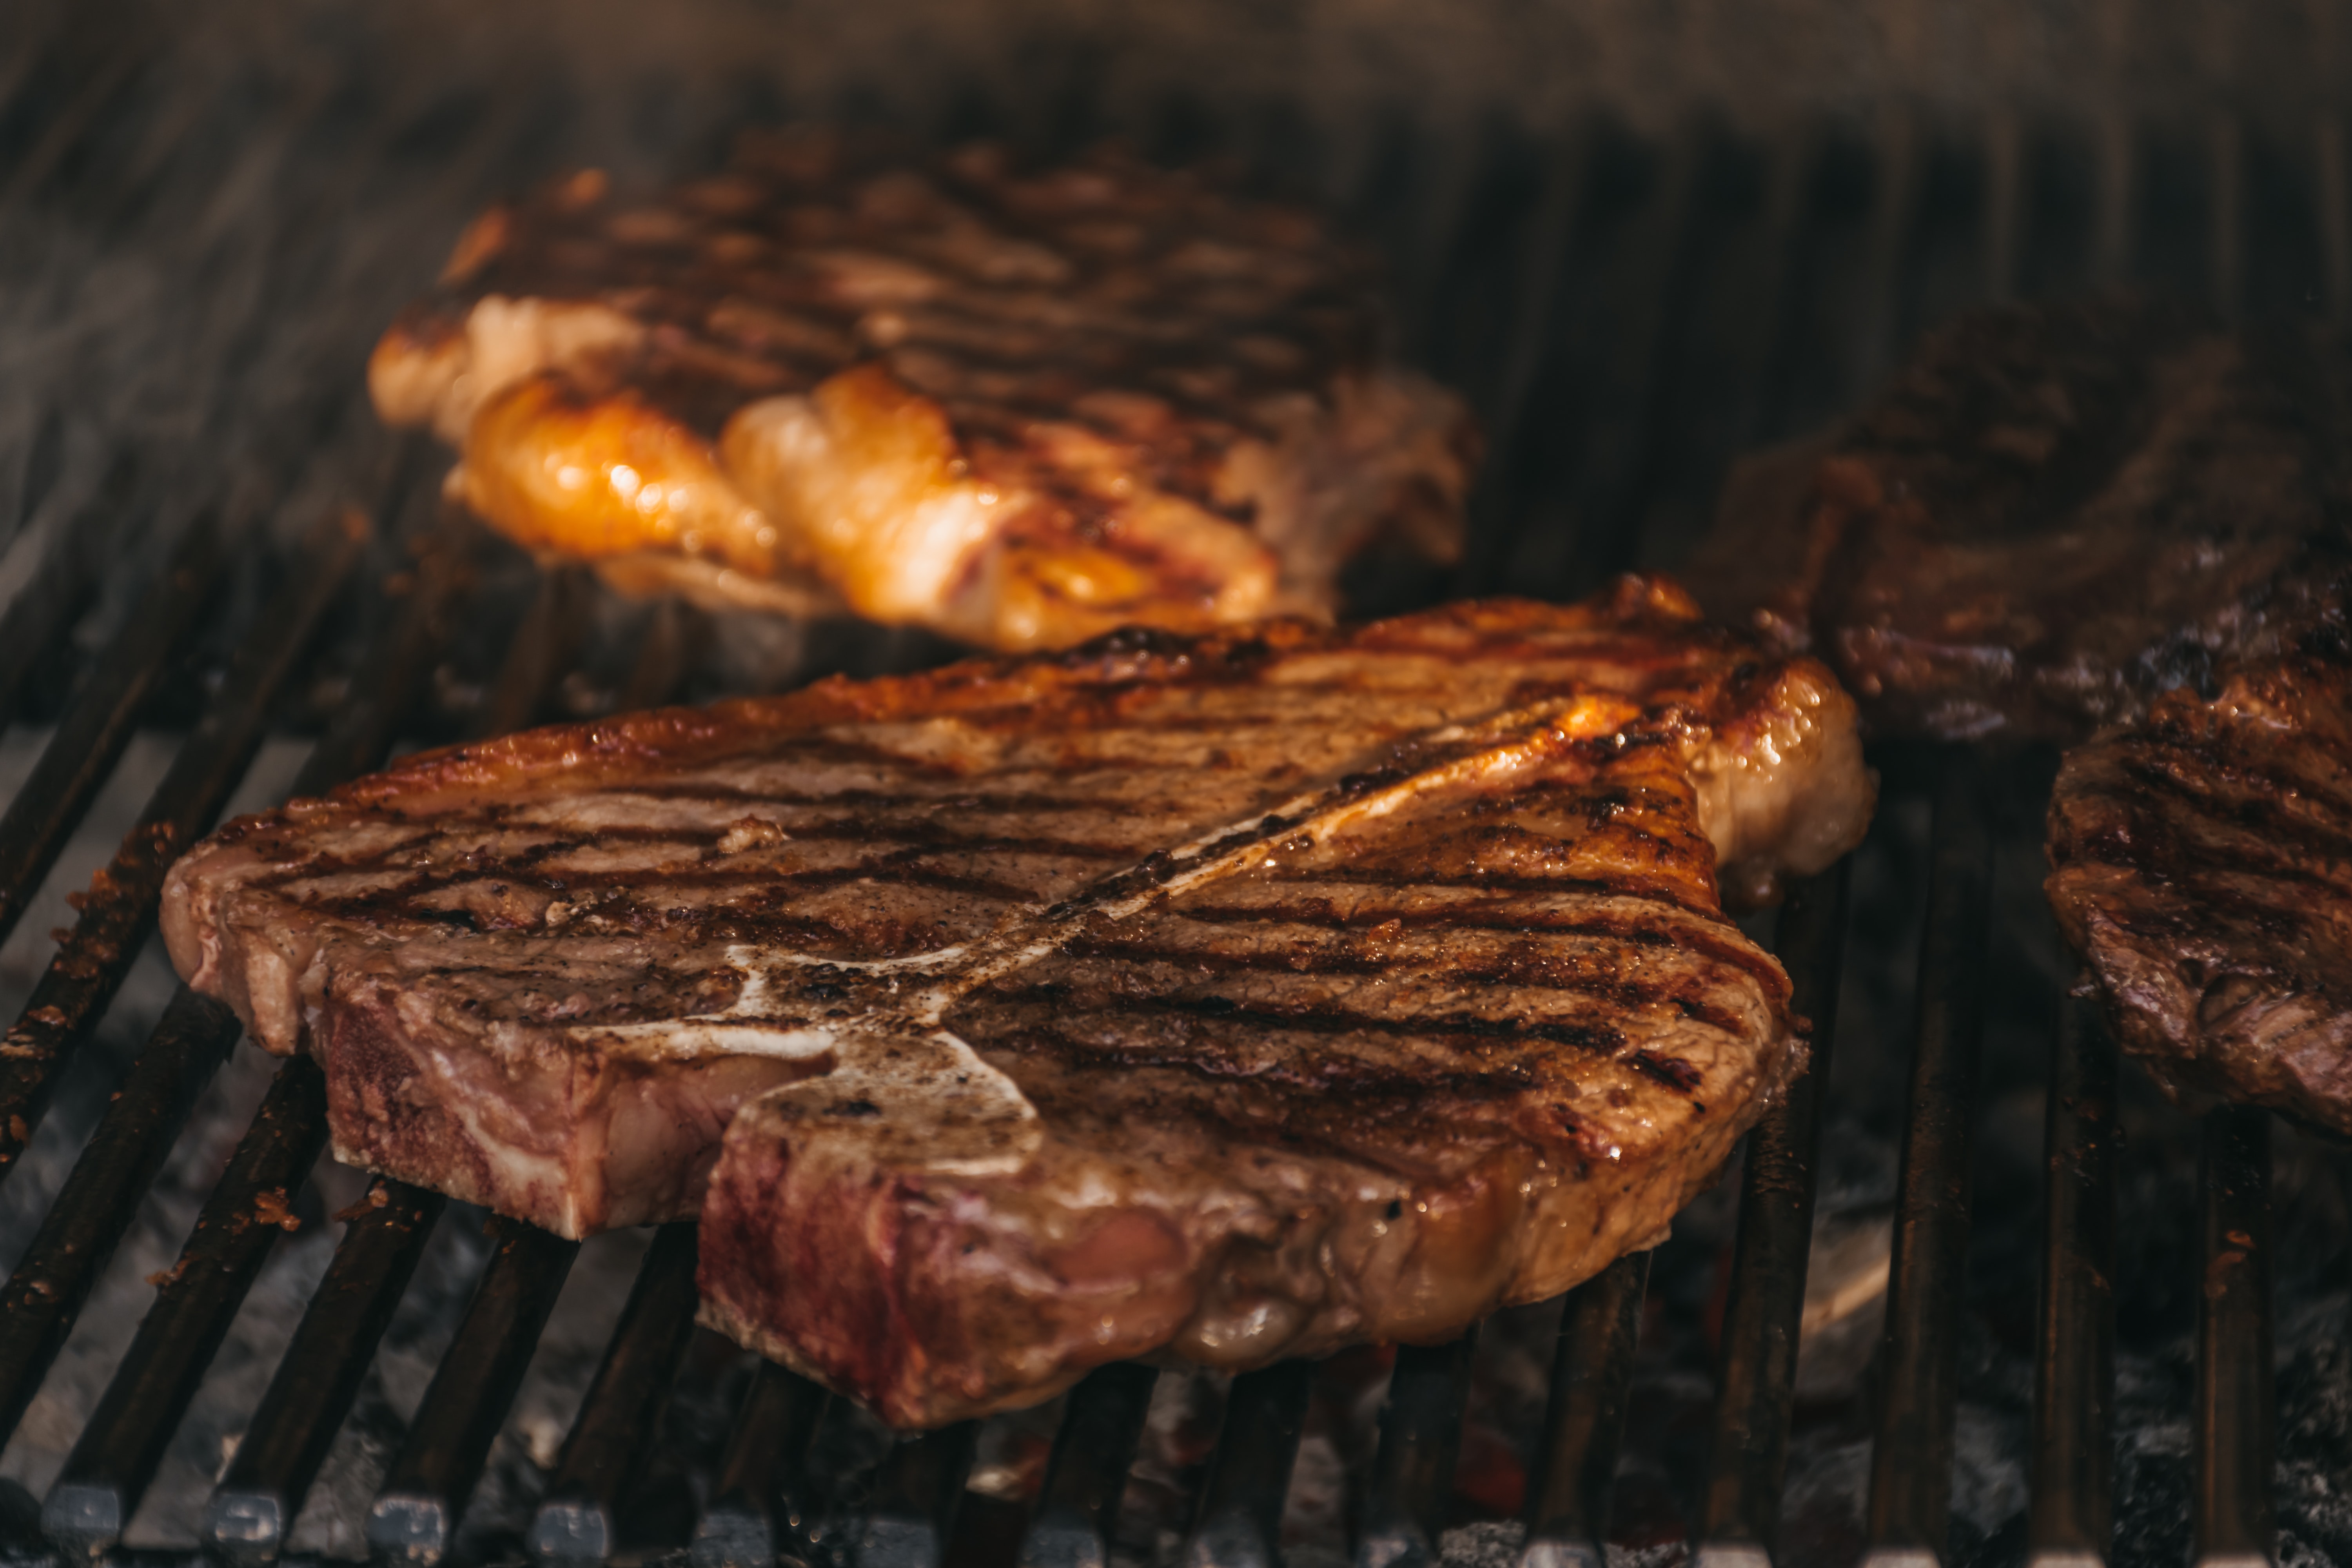
To get signature cross-hatched grill marks, simply rotate the steak halfway through each sear.
Make it Perfect
Everyone’s different, and thus, everyone may like their steak cooked to a different degree of doneness. Whether you like your steak still mooing, or you prefer it burnt to a crisp, there are no right or wrong answers on what makes the “perfect steak” for you. Here’s a simple guide to testing the desired wellness of your steak:
Temperature
Check the temperature using a meat thermometer placed in the middle of the steak.
- Rare – 125°F
- Medium Rare – 130° -135°F
- Medium – 140°-150°F
- Well Done – 155°F
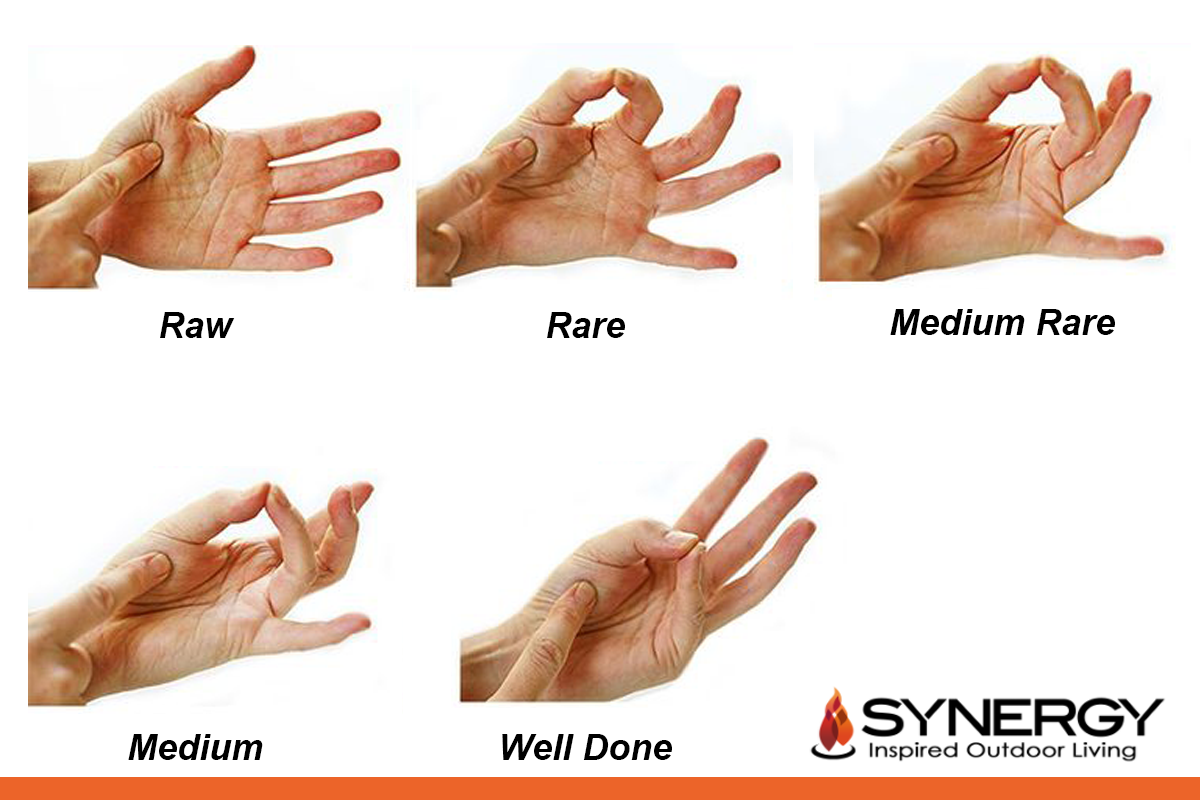
The Hand Test
Maybe you don’t have a thermometer nearby, or maybe you don’t want to poke a hole in your picture-perfect steak! Luckily for you, there is another method to check the steak’s wellness using your hands! We’ve attached a handy chart below for you to follow!
Tips for Every Grill
You’re one step closer to becoming the grill master we know you can be! Here are a few more tips to help you make the most out of your steak:
- Always let steak warm up out of the fridge
- Flipping more than once is ok, just don’t flip too early or you may ruin the crust before it forms!
- The cut of steak matters, but they can all be great if cooked well.
- Always rest your steak after cooking, treat it as part of the cooking process (because it is)
Looking for your New Grill? > Product Spotlight: Blaze Grills
Cook Your Next Steak How You’ve Always Dreamed to
What’s more perfect than a beautifully grilled steak? Grilling it outside in your brand new outdoor kitchen! At Synergy Outdoor Living, we take your patio and transform it into a full-fledged kitchen, perfect for hosting, or relaxing with family!
To get started on the outdoor kitchen of your dreams, call us today at 813-322-2137.
